Designer Overview
The Designer is your unified visual workspace for building data workflows. Whether you're creating data transformations, automated pipelines, or REST APIs, the Designer provides an intuitive drag-and-drop interface to build and configure your workflows without writing code.
Understanding the Designer Interface
When you open the Designer, you'll see a powerful visual environment with several key areas:
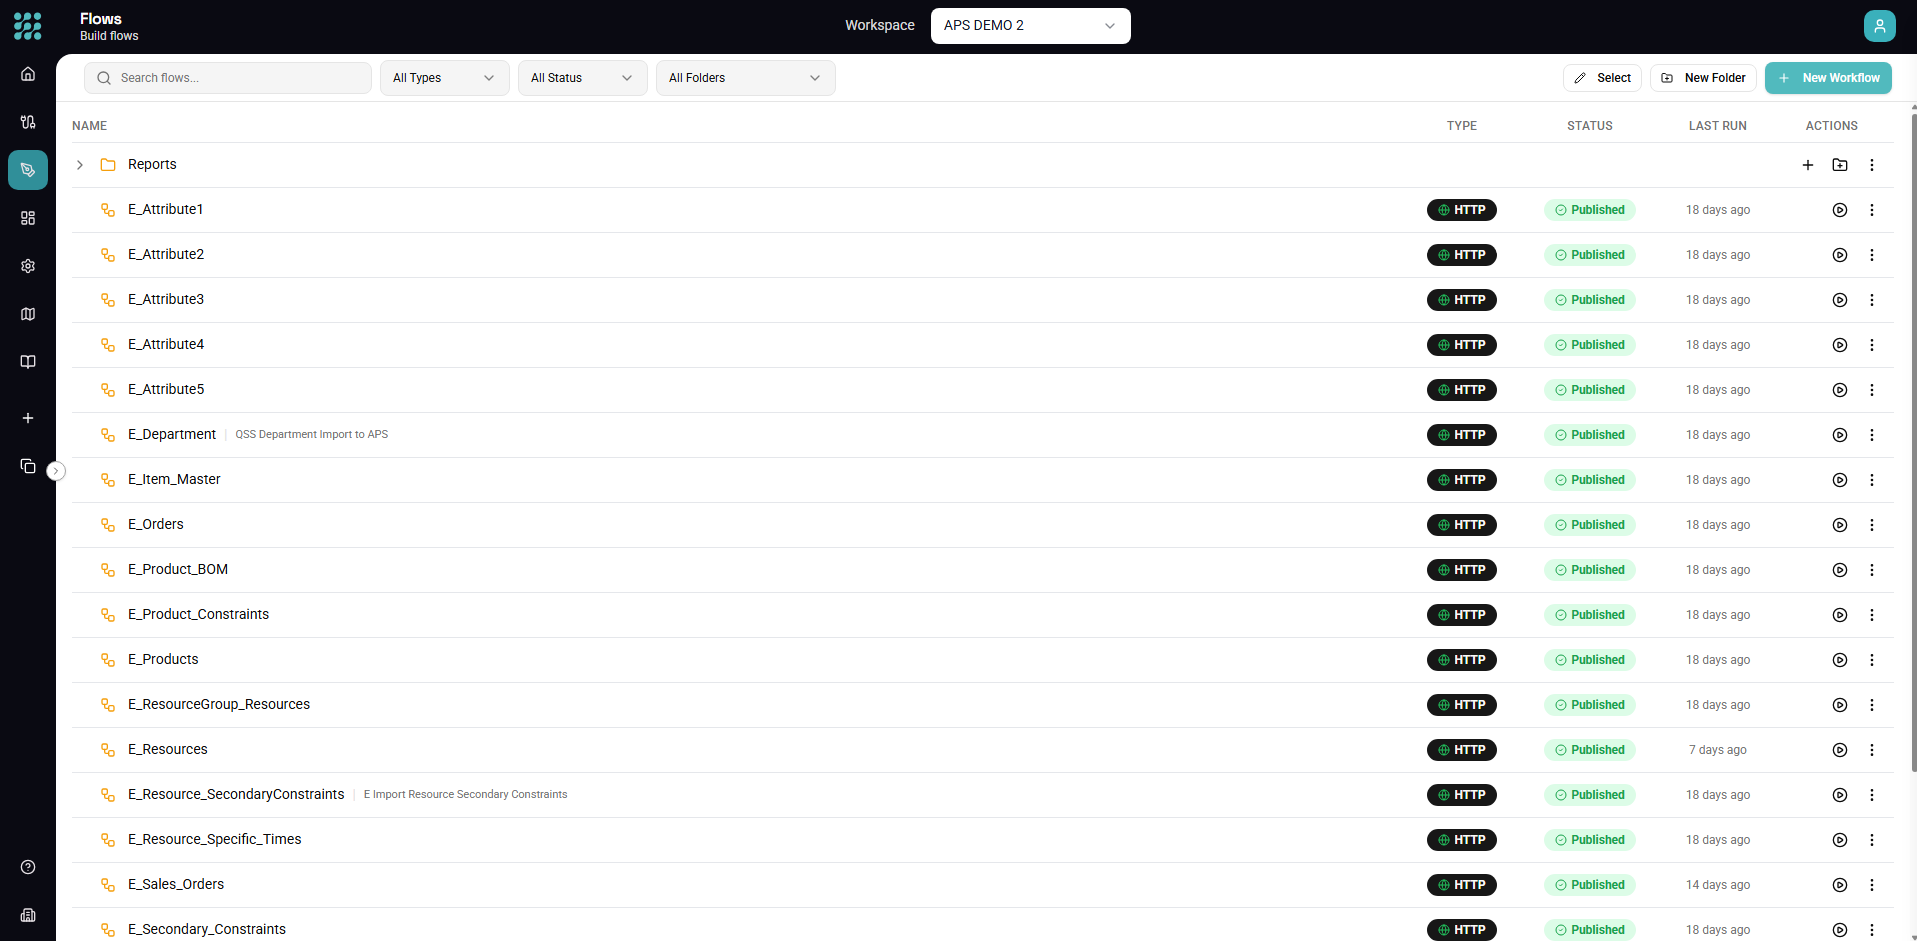
The Homepage
The Designer homepage displays all your flows, views, and APIs organized by category:
- All Items - Everything in your workspace
- Flows - Automated pipelines with triggers
- Views - Data transformation definitions
- APIs - HTTP endpoints
- Categories - Custom folders you've created
From here you can:
- Click any item to open it for editing
- Use the search bar to find specific workflows
- Create new items with the + New button
- Organize items into categories
The Canvas
The canvas is the central workspace where you build your workflows:
- Nodes represent operations (data sources, transformations, actions)
- Edges (connections) show data flow between nodes
- Data flows left to right through your workflow
You can navigate the canvas by:
- Dragging with your mouse to pan
- Scrolling to zoom in/out
- Using the minimap in the bottom-right corner
- Clicking "Fit to View" to see your entire workflow
The Toolbar
The toolbar at the top provides navigation and canvas controls:
| Button | Action |
|---|---|
| ← Back | Return to the homepage |
| Browse | Open the drawer to browse all items |
| Entity | Add data source nodes |
| View | Add view nodes (reusable transformations) |
| Action | Add action nodes (outputs and triggers) |
| Undo/Redo | Reverse or replay changes |
| Zoom Controls | Zoom in, out, or fit to view |
| Preview | Run and preview data at selected node |
| Save | Save your changes |
| Deploy/Remove | Publish or undeploy flows |
The Element Panel
On the left side, the Element Panel lets you browse and add elements:
Data Sources
- Entities - Tables, views, and endpoints from your connections
- Views - Reusable transformations you've created
- Call Flow - Trigger another flow and use its output
Transforms
- Filter, Map, Transform, Group By, Distinct
- Merge, Append, Divide, Split
- Lookup, Convert, Custom Field
- AI Classify
Actions
- Trigger configurations (Schedule, HTTP, From Flow)
- Response nodes (for API responses)
- Action nodes (write data, call APIs)
The Configuration Panel
When you select a node, the configuration panel opens on the right side:
- Configure properties specific to each node type
- Set up field mappings for transformations
- Define conditions for filters
- Build expressions for calculated fields
The panel slides in and out as you select different nodes, keeping your focus on the canvas while providing deep configuration options.
Working with Nodes
Adding Nodes
There are several ways to add nodes to your canvas:
- Toolbar Buttons - Click Entity, View, or Action in the toolbar
- Drag from Panel - Drag elements from the left panel onto the canvas
- Context Menu - Right-click the canvas for quick-add options
- Quick Create - Click the + button that appears when hovering near existing nodes
Tip: When adding entities, you can select multiple at once by holding Cmd/Ctrl and clicking each one before dragging them onto the canvas.
Connecting Nodes
Data flows through connections between nodes:
- Click on a node's output handle (right side of the node)
- Drag the connection line to another node's input handle (left side)
- Release to create the connection
Connections show data flow direction with arrows. Data always flows left to right through your workflow.
Configuring Nodes
To configure a node:
- Single-click - Selects the node and opens the configuration panel
- Double-click - Opens the detailed editor for complex configurations
The configuration panel provides:
- Node-specific settings
- Field selectors and mappings
- Condition builders
- Expression editors
- Preview options
Selecting Multiple Nodes
You can select multiple nodes for bulk operations:
- Click + Drag on empty canvas to draw a selection box
- Cmd/Ctrl + Click to add/remove nodes from selection
- Cmd/Ctrl + A to select all nodes
With multiple nodes selected, you can:
- Move them together
- Delete them all
Deleting Nodes
To delete nodes:
- Select the node(s) and press Delete or Backspace
- Right-click and select Delete from the context menu
Deleting a node also removes its connections.
Three Workflow Types
The Designer supports three types of workflows, each with different capabilities:
Flows
Flows are automated pipelines that run based on triggers:
When to use:
- Scheduled data synchronization
- Event-driven processing
- API endpoints that write data
Components:
- Trigger (required) - What starts the flow
- Data sources - Where data comes from
- Transformations - How data is processed
- Actions - What happens with the results
Deployment: Flows must be deployed to run. Click Deploy to publish your flow, and Remove to undeploy it.
Views
Views define data transformations without automation:
When to use:
- Reusable transformation logic
- Ad-hoc data exploration
- Building blocks for flows
Components:
- Data sources - Where data comes from
- Transformations - How data is processed
Usage: Views can be previewed directly or included in flows as data sources.
APIs
APIs are flows exposed as HTTP endpoints:
When to use:
- Building REST APIs for external systems
- Creating data services
- Real-time data access
Components:
- HTTP Trigger (required) - Defines the endpoint
- Data sources and transformations - Process the request
- Response node - Defines what's returned
Canvas Features
Auto-Save
Your work is automatically saved as you make changes. You'll see a "Saved" indicator in the toolbar when changes are persisted. You can also manually save with Cmd/Ctrl + S.
Undo/Redo
Made a mistake? Use undo/redo to reverse changes:
- Undo - Cmd/Ctrl + Z
- Redo - Cmd/Ctrl + Shift + Z
The history tracks node additions, deletions, connections, and configuration changes.
Auto-Layout
If your workflow looks messy, use auto-layout to organize nodes:
- Click the Layout button in the toolbar
- Nodes automatically arrange in a clean left-to-right flow
Zoom and Navigation
Navigate large workflows easily:
| Control | Action |
|---|---|
| Scroll wheel | Zoom in/out |
| Click + Drag on empty space | Pan the canvas |
| Fit to View button | Show entire workflow |
| Zoom controls | Fine-tune zoom level |
| Minimap | Quick navigation overview |
Preview
Preview data at any point in your workflow:
- Select a node
- Click Preview (or press Cmd/Ctrl + Enter)
- See the data that would flow out of that node
This is invaluable for debugging and understanding your transformations.
Best Practices
Use Descriptive Names
Name your nodes meaningfully:
- "Filter Active Customers" instead of "Filter1"
- "Join with Products" instead of "Merge1"
Clear names make workflows easier to understand and debug.
Build Incrementally
Build and test your workflow step by step:
- Add a data source and preview
- Add a transformation and preview
- Continue adding one node at a time
This helps you catch issues early and understand how data transforms.
Reuse with Views
Create views for common transformation patterns:
- Build the transformation once
- Save it as a view
- Include that view in multiple flows
This keeps your workflows DRY (Don't Repeat Yourself).
Keyboard Shortcuts
Master these shortcuts to work faster:
| Shortcut | Action |
|---|---|
| Cmd/Ctrl + S | Save |
| Cmd/Ctrl + Z | Undo |
| Cmd/Ctrl + Shift + Z | Redo |
| Cmd/Ctrl + Enter | Preview selected node |
| Cmd/Ctrl + A | Select all nodes |
| Delete / Backspace | Delete selected |
| Escape | Clear selection |
| ? | Open help panel |
Troubleshooting
Nodes Not Connecting
If you can't connect two nodes:
- Make sure you're dragging from an output (right) to an input (left)
- Check that the connection is valid (you can't connect incompatible node types)
Preview Not Working
If preview shows an error:
- Check that upstream nodes are configured correctly
- Ensure your connections are healthy
- Look for red indicators on nodes showing configuration issues
Canvas Performance
For very large workflows:
- Use the minimap instead of zooming out extremely far
- Consider breaking complex workflows into multiple flows
Next Steps
- Node Types - Learn about all available nodes
- Transform Reference - Master data transformations
- Building Flows - Create automated pipelines
- Keyboard Shortcuts - Work faster